A custom anti-snoring device is an effective way to improve sleep quality but for best results it’s important to follow the correct impression procedure and set expectations for the first few nights of wear.
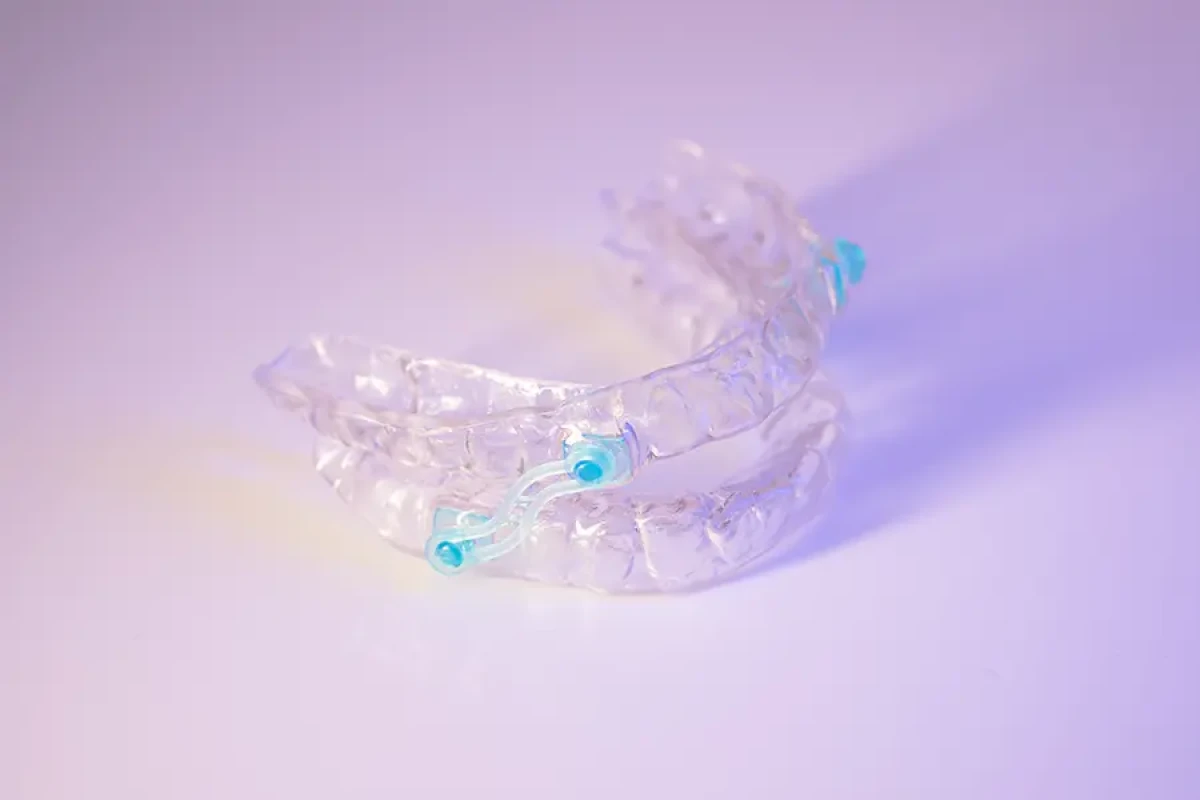
We manufacture anti-snoring devices using the Silensor-SL method, this is two custom retainers joined with connective straps to guide the wearer’s jaw into an open-airway position. To ensure a comfortable fit and good results, we require the following:
The device will be made using the bite registration as a reference. The lower jaw does not necessarily need to protrude beyond the upper. The patient must be comfortable holding the position overnight.
Patients should notice results from the very first wear. However, because their mouth is in a new sleeping position overnight, they may experience minor discomfort. This could include gum or tooth soreness, or a mild headache. Usually, these symptoms fade about 15 minutes after removing the device. As patients get used to wearing the anti-snoring device, any discomfort should decrease with each use. This allows them to enjoy a good night’s sleep with no downsides.
Just like aligners, anti-snoring devices need a quick clean after each use. Rinse with cool water and gently brush with a soft-bristled brush. Using a dedicated dental cleaner and storage case can help keep your device in top shape. Every anti-snoring device we provide comes with simple care instructions to make it easy. For a copy of these instructions or if you have any queries about the device in general, please contact our team via email or CosTech Portal.